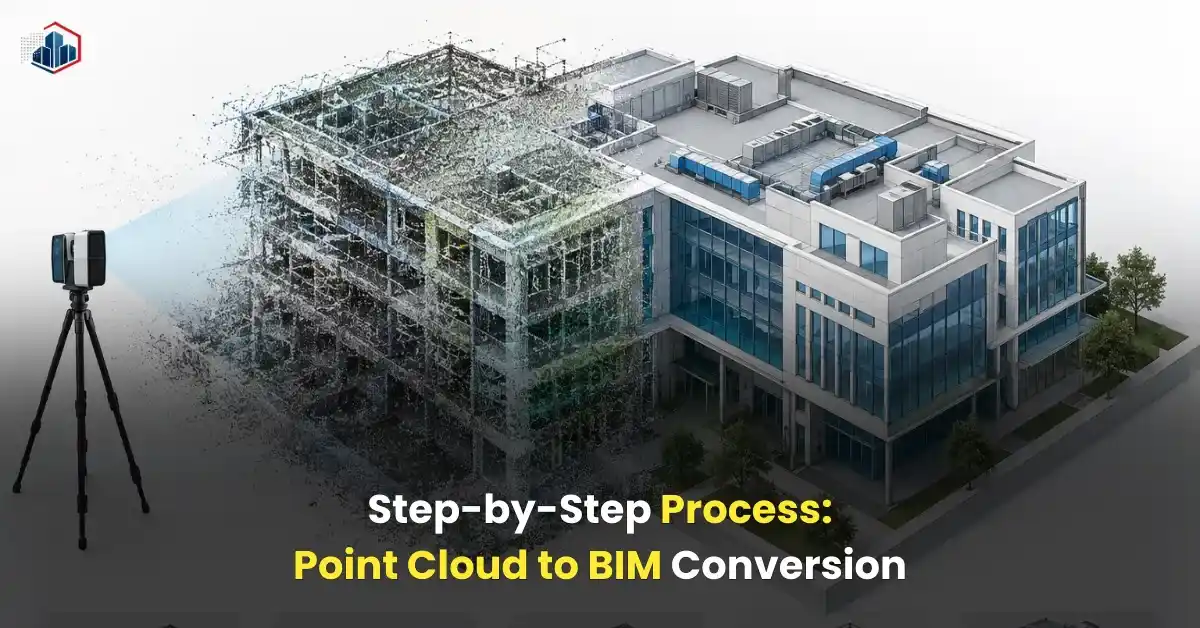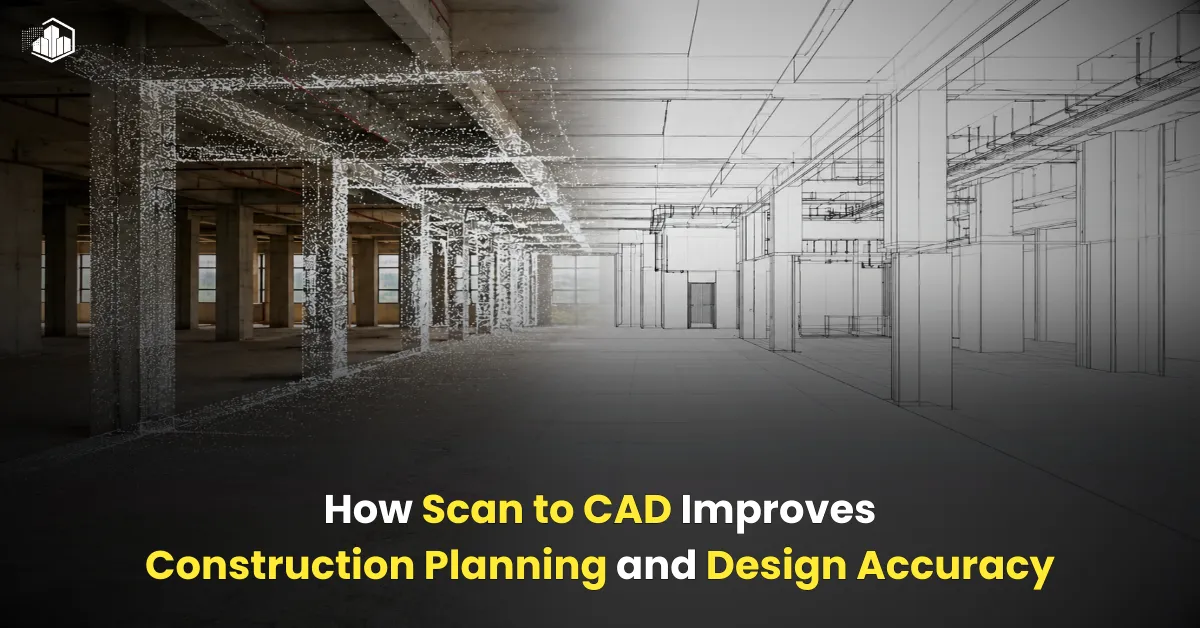
Converting point cloud data into a BIM model is an important workflow for renovation, retrofit, as-built documentation, and existing-building projects. Professional point cloud to bim services help transform millions of laser-scanned points into an organized, intelligent 3D BIM model that architects, engineers, contractors, and facility teams can use for design and coordination.
Unlike simply viewing a point cloud, point cloud to BIM conversion requires technical interpretation. The modeler needs to understand the project scope, identify building elements, work to the required accuracy and LOD, and validate the finished model against the captured site data.
What Is Point Cloud to BIM Conversion?
A point cloud is a collection of millions of three-dimensional points captured using laser scanning or other reality-capture methods. These points represent the actual geometry of a building or structure, including walls, floors, ceilings, columns, beams, doors, windows, pipes, ducts, and equipment.
Point cloud to BIM conversion takes this raw spatial data and uses it as a reference for creating an intelligent BIM model, commonly in Autodesk Revit.
The basic workflow is:
Existing Building → Laser Scanning → Point Cloud → Processing → BIM Modeling → QA/QC → Final Model
Autodesk notes that point-cloud data can be processed, registered, cleaned, organized, and prepared for use in applications such as Revit.
Point Cloud to BIM Workflow at a Glance
| Step | Process | Main Purpose |
| 1 | Project requirement review | Define scope, LOD, accuracy, and deliverables |
| 2 | Scan data collection | Capture existing building conditions |
| 3 | Registration | Combine individual scans into one dataset |
| 4 | Point cloud cleaning | Remove unwanted data and noise |
| 5 | BIM modeling | Create architectural, structural, or MEP elements |
| 6 | QA/QC | Compare model with point cloud and requirements |
| 7 | Final delivery | Provide the approved BIM model and related outputs |
Step 1: Review Project Requirements
The process starts before modeling begins. The project team first needs to understand what the BIM model will be used for.
For example, a renovation project may only require architectural elements such as walls, floors, doors, and windows. An MEP retrofit, however, may require detailed HVAC, plumbing, electrical, and mechanical components.
The team should establish:
- Required LOD
- Accuracy or tolerance requirements
- Modeling scope
- Disciplines to be included
- Required software
- File formats
- Project coordinates
- Expected deliverables
This step is critical because the model should contain the right level of information for its intended purpose. BIMForum’s LOD Specification provides a framework for defining model content and reliability, helping project teams establish clearer expectations for BIM deliverables.
Step 2: Capture Existing Conditions
The next step is collecting reality-capture data from the building or site.
3D laser scanners are positioned at multiple locations to capture surfaces and geometry. Because one scan position cannot normally see every area, multiple scan positions are combined to create comprehensive coverage.
For example, when documenting an existing commercial building, scanning may capture corridors, rooms, structural elements, ceilings, mechanical spaces, and other visible components.
The quality of this initial capture has a direct impact on the final BIM model. If an important area is missing from the scan, the modeler may have to rely on additional documentation or request another site visit.
Step 3: Register the Point Cloud
Individual scans must be aligned into a common coordinate system. This process is known as point cloud registration.
Registration combines separate scan positions into a unified dataset so that walls, floors, structural elements, and MEP components appear in their correct spatial relationships.
Autodesk ReCap supports importing scan data, registering scans, indexing the resulting dataset, and preparing point clouds for use in other Autodesk applications.
Coordinate management also deserves attention. For large or georeferenced datasets, incorrect coordinate handling can make the point cloud difficult to position and work with in Revit. Autodesk recommends appropriate shared-coordinate workflows for these situations.
Step 4: Clean and Prepare the Point Cloud
Raw scan data can contain unwanted information such as people, temporary objects, equipment that is not part of the required scope, or scanning noise.
The point cloud is therefore cleaned and organized before modeling.
Typical preparation activities include:
- Removing unnecessary points
- Cropping areas outside the project scope
- Organizing regions
- Checking scan alignment
- Reviewing density and coverage
- Separating relevant areas for modeling
Autodesk identifies cleaning, cropping, organizing, and classification as useful parts of point-cloud preparation for Scan to BIM workflows.
Step 5: Create the BIM Model
This is the main conversion stage.
The processed point cloud is linked into BIM software, such as Autodesk Revit, and experienced modelers use it as a dimensional reference.
Depending on the project requirements, they may create:
- Architectural walls and partitions
- Floors and slabs
- Roofs and ceilings
- Doors and windows
- Columns and beams
- Stairs
- HVAC ducts
- Pipes
- Electrical components
- Mechanical equipment
The important difference is that the final BIM model is not simply a visual copy of the point cloud. Building elements are created as intelligent BIM objects with properties and relationships that make the model useful for design, coordination, documentation, and other project workflows.
Practical Project Example
In one typical renovation scenario, an existing commercial building had older drawings that did not completely match the current site conditions. During point cloud review, several wall locations and ceiling conditions were found to differ from the available documentation.
Rather than modeling from the old drawings alone, the point cloud was used as the primary existing-condition reference. The architectural model was developed around the actual captured geometry, while areas with unclear or incomplete scan information were flagged for review.
This approach reduced assumptions during modeling and gave the design team a more reliable starting point for the renovation.
Step 6: Perform BIM Quality Control
A completed model should not immediately be considered ready for delivery.
QA/QC involves checking the BIM model against the point cloud and the agreed project requirements.
Typical checks include:
- Element placement
- Dimensions and geometry
- Level alignment
- Missing components
- Model consistency
- Required LOD
- Naming and organization
- Coordination between disciplines
Accuracy should also be defined clearly. USIBD’s Level of Accuracy specification provides guidance for communicating and verifying the accuracy of building documentation deliverables.
A useful practice is to perform quality checks throughout modeling rather than waiting until the entire model is finished. Early checks make corrections easier and reduce the risk of repeating errors across multiple areas.
Step 7: Deliver the Final BIM Model
After QA/QC and client review, the final model can be prepared for delivery.
Depending on the project, deliverables may include:
- Revit models
- IFC files
- Point cloud files
- 2D drawings
- Floor plans
- Sections
- Elevations
- Coordination models
The exact deliverables should be agreed upon during project planning rather than assumed after modeling is complete.
Why Point Cloud to BIM Is Valuable
Point cloud to BIM conversion is particularly useful for existing buildings where original drawings are incomplete, outdated, or unavailable.
The resulting model can help teams:
Improve existing-condition documentation: Project teams can work from captured site information instead of relying entirely on old drawings.
Support renovation planning: Architects and engineers can develop designs around actual building conditions.
Improve coordination: Architectural, structural, and MEP teams can coordinate using a common digital representation.
Reduce site measurement work: Detailed scan data provides a reusable digital reference for modeling and design.
Support clash detection: Existing conditions can be compared with proposed systems before construction.
Improve facility documentation: Scan-derived BIM models can provide useful digital information for future modifications and facility planning.
Final Thoughts
The process of converting point cloud to BIM is much more than importing a scan into Revit. It involves requirement planning, accurate data capture, registration, cleaning, BIM modeling, quality control, and final validation.
The most reliable results come from combining good-quality scan data with experienced BIM interpretation. LOD and accuracy requirements should be established early, while the model should be checked against the point cloud throughout production.
For renovation, retrofit, as-built documentation, and existing-building projects, professional point cloud to bim services can turn complex reality-capture data into a structured BIM model that supports better design decisions, coordination, and project planning.
Also read: Common Challenges in Point Cloud to BIM Conversion & Solutions